The 9 Step Guide to the Electroplating Process
Perfect metal finishing takes skill, precision, and a lot of patience. The electroplating process can be challenging and there are several steps one must follow in order to obtain a quality metal coating that not only looks great, but will withstand the tests of time. In general, these steps are broken down into three main stages: (1) Pre-Treatment, (2) Treatment, and (3) Post-Treatment & Waste Disposal.
Pre-Treatment
Pre-Treatment is an extremely important stage in the electroplating process in order to produce a quality and uniformed plate-layer that wont flake or blister as time goes on.
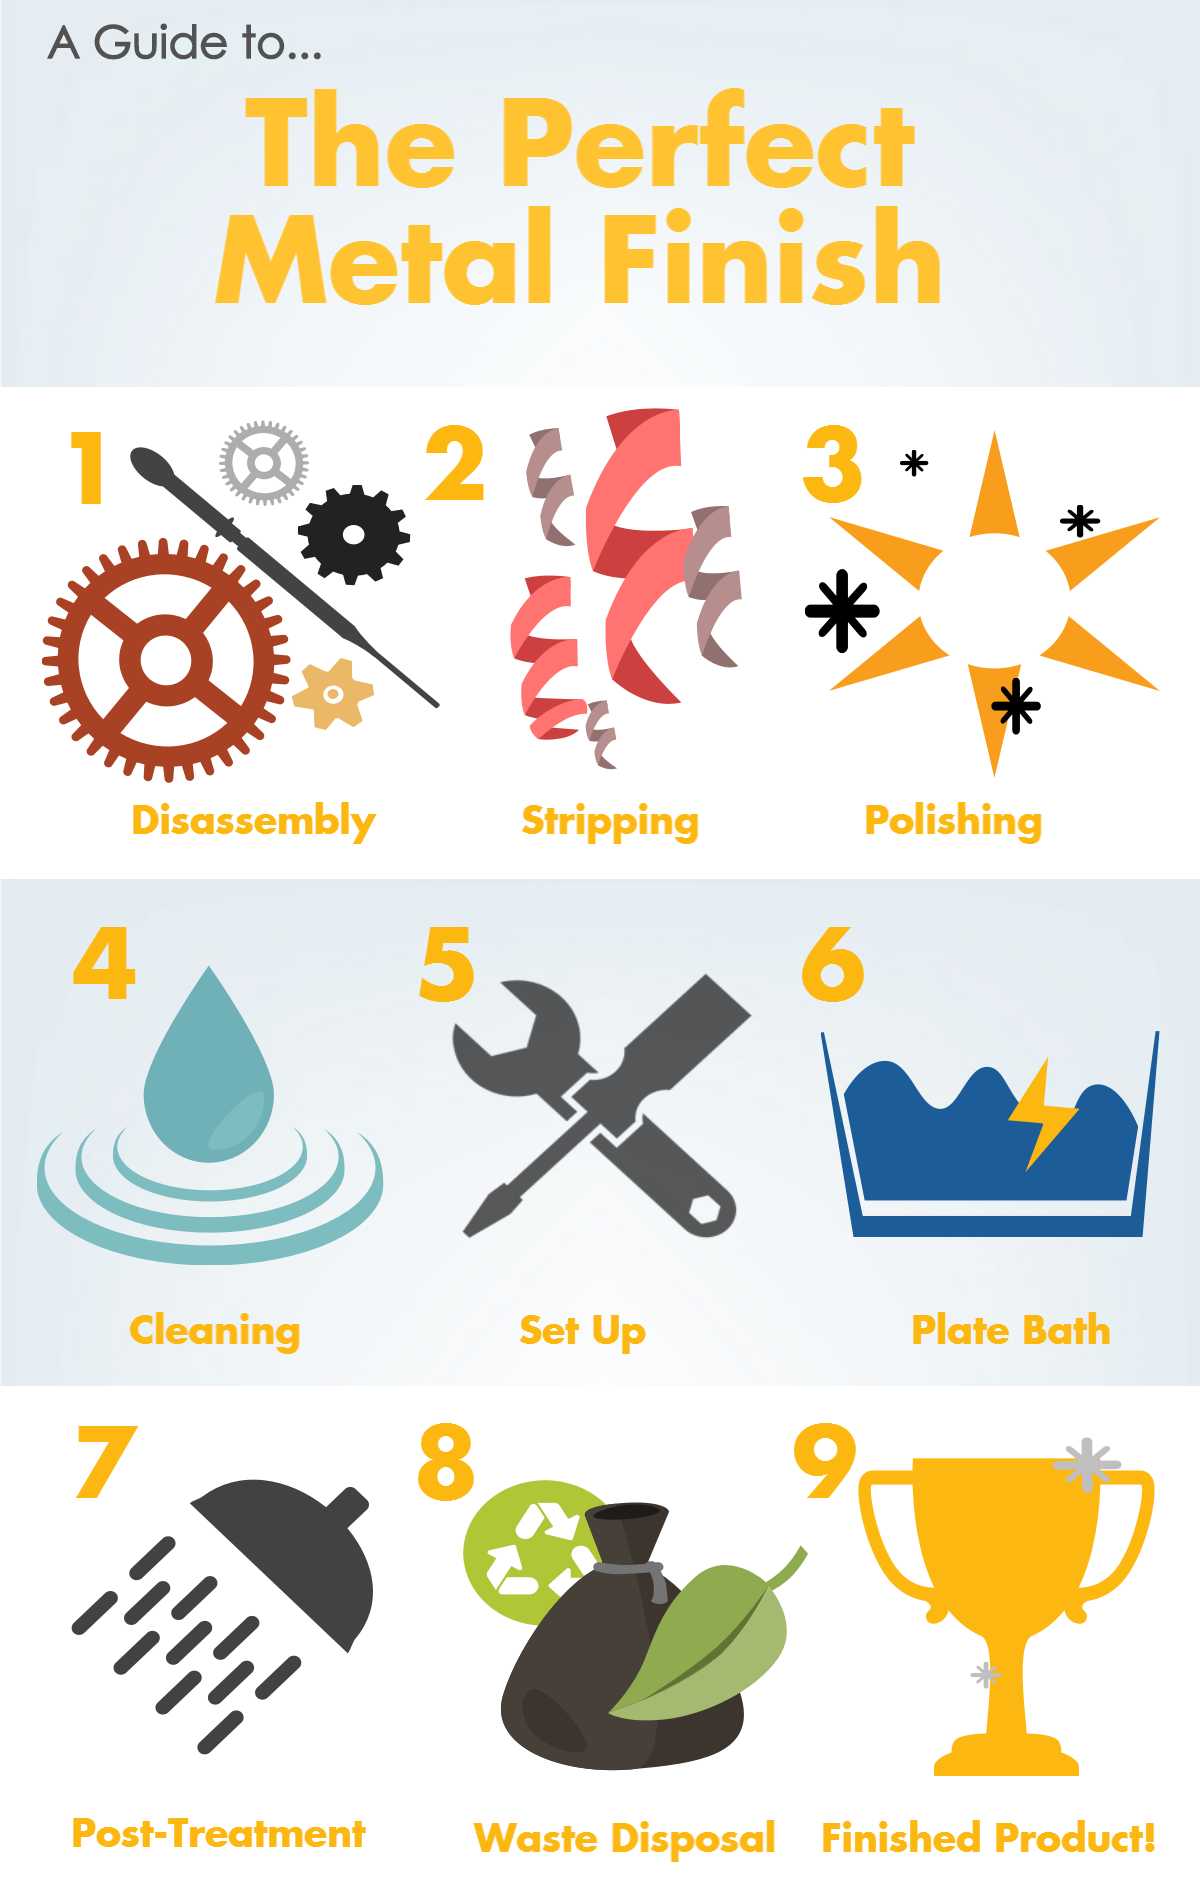
1. Disassembly – Dissembling all of the connected parts ensures there is an even coat of electroplating solution on all of the surface area.
2. Stripping – Removes particles which can blister or flake a plate-layer. In addition, it is also common for objects to arrive at the shop with old metal coatings. These surfaces are removed to work on the metals base layer.
3. Polishing – Refines and evens surfaces in preparation for plating. smoothing and polishing the smallest imperfections make all of the difference. In addition, metal polishing can also help to remove any remaining oxidation on an objects surface. Overall, polishing is the line of defense against the most common issues that may occur during the plating process.
Treatment
The Treatment Stage is where all of the “magic” happens. By the end of this stage, an object or workload will undergo electrodeposition and receive a fine layer of gold, silver, copper, nickel, brass, or tin (or several other metals). Like pre-treatment, we have also broken this stage down into three parts including:
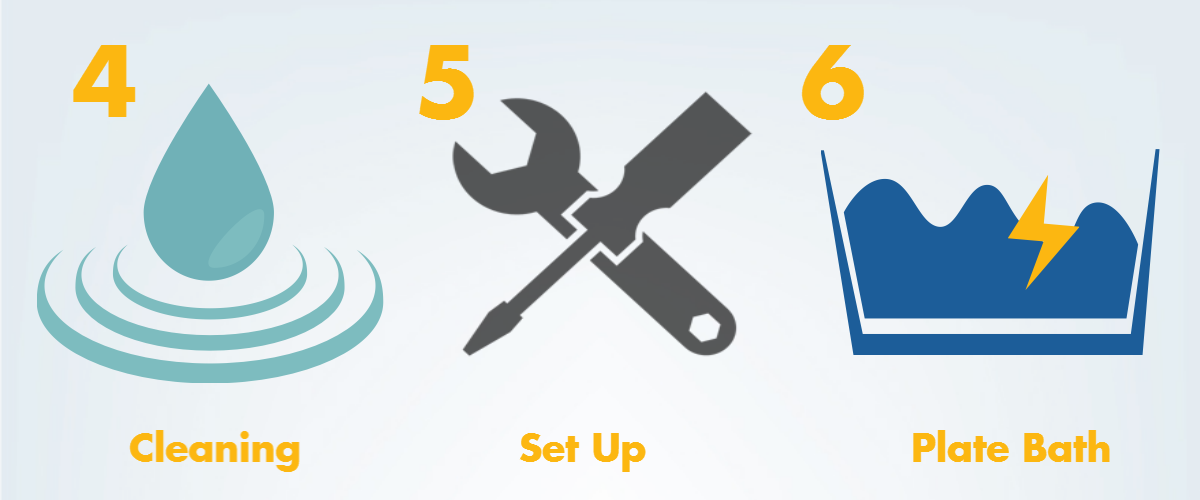
4. Cleaning – Object is dipped into cleaning solution and electrified. Without a properly cleaned surface, even the most expensive metal coatings will fail to adhere or protect an object from the outside environment.
5. Set-Up – This step requires a power supply which will provide an electric current for the electroplating process. During set-up, a plater will connect the negative electrical lead of the rectifier to the substrate and place the positive lead directly in the plating solution.
6. Plate Bath – While in the plate bath, deposition begins. During this step, the metal atoms on the anode begin to oxidize and dissolve into the electrolyte solution where they adhere to the surface of the cathode. The longer an object is exposed to a current, the thicker the plating will become. This may take anywhere from 5 to 45 minutes depending on desired thickness.
Post-Treatment
Post-Treatment and Waste Disposal is the final stage of the electroplating process. For a perfect metal finish we break post-treatment into 3 steps.
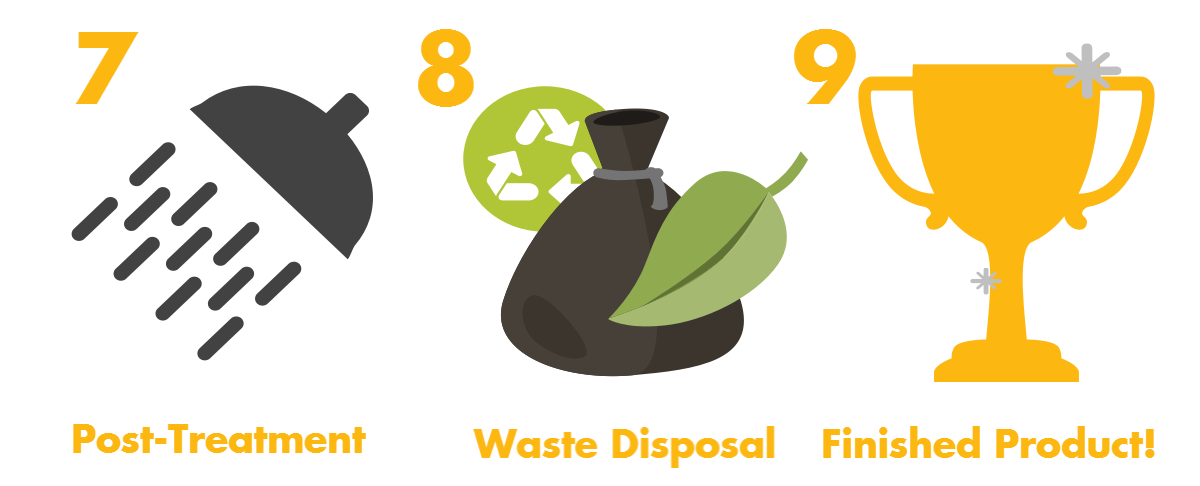
1. Post-Treatment – While many jobs may be complete after the plating bath, others require a bit more love. For some metal coatings,an anti-tarnish or clear coat treatment is used in order to prevent tarnishing and improve resistance.
2. Waste Disposal – Electroplating can create hazardous materials. Having a green attitude on waste disposal not only keeps a shop in line with governmental regulations, but also helps to keep the local community safe and pollution free. recycling the waste back into the plating process is a sign of a job well done.
3. Finished Product – After completing the last eight steps, your workload should be ready to amaze your eager customers, providing either a luxurious shine or a protective and commercially valuable coating that will keep your customers coming back order after order.
So there you have it! A nine step guide to the perfect metal finishing. For an organized look at all nine steps, take a look at the compiled infographic below. Please don’t hesitate to share it with others!


